Several months have passed since I last wrote about the home server. It's been running smoothly for a while now but that hasn't stopped me from tinkering.
This second part was supposed to focus on the software side of things, but the opportunity to make a few more hardware upgrades was hard to pass up.
So where were we?
Previously, I'd managed to find an old Mac Pro 3,1 to repurpose as a home server. Minor upgrades left us here;
- 2 x 2.8 GHz Quad-Core Intel Xeon
- 32 GB 800 MHz DDR2 FB-DIMM
- ATI Radeon HD 5770 1024 MB
- 500GB SSD (via PCIE mount)
- 1TB RAID 1+0 Array
Almost immediately after finishing that last article, I discovered that my first ever graphics card was compatible with the Mac Pro 3,1. It's an old Nvidia GTX 670 which launched in May 2012, but it's also twice as powerful as the one that came with the server so it makes sense.
Unfortunately you can't just plug a new graphics card in and expect it to work. A GPU usually requires more wattage than can be provided through a standard PCIE slot. This is normally solved by running an extra power cable from the power supply, but the power supply here is not a modular unit and doesn't have any spare cables.
"Building a PC would have been much easier."
So then, how are you able to install a graphics card inside a Mac Pro 3,1 in the first place? As it happens, Apple designed special mini 6-pin connectors on the motherboard that you can run power cables from. Neat.
So I found the correct cable, a Small 6 Pin to PCI-E 6PIN Graphics Video Card Power Cable (about £5.99 online), and then had to wait several weeks for it to be shipped from China. But it did eventually arrive and we were good to go. You can see I actually needed two of them.

I also said I was planning on upgrading the hard drives and migrating the media server across, so I found myself buying a couple of 14TB IronWolf Pro Hard Drives from Seagate. I've bought these exact drives in the past and haven't had any issues so far. I'd really like at least four of them in this build so I can create a proper RAID array (with a parity drive) but can't justify spending so much money on hard drives just yet. With two drives, I'll be using RAID 0.

Ask anyone about RAID arrays and they'll tell you no amount of redundancy is a proper substitute for off-site backups, but purchasing another couple of drives to create an array with more redundancy is a priority. Until then, a RAID 0 array gives us over 25TB of usable storage. Plenty for the time being.
The last hardware upgrade I wanted to make to the server was adding some modern I/O to make transferring files over USB much faster. Installing a 4-port USB 3.2 card by Sonnet (about £62.00 online) provides much faster ports for use on the back of the server.

Installing the new components leaves us with an extremely capable home server. Even though the clock speeds aren't exactly high by today's standards, the eight Xeon cores and 32GB of fully-buffered ECC RAM mean it can still hold its own.

Thermals and Noise
Just a quick note on thermals and noise. A typical server can generate a lot of heat and will have powerful fans circulating air to cool the components. These are often very loud and not something you want sat next to you when you're working (hence the need for server rooms). The 2008 Mac Pro isn't too bad, but I did want to keep it somewhere out of the way.
Luckily, we have a handy utility closet that happens to have ventilation, wall sockets, and ethernet ports, so that's where the home server has been living. I did have some initial concerns about airflow and thermals but after monitoring the server for a month, I'm happy it's running cool and quiet.
Software
Hardware's important, but before you can get started sharing files, hosting backups, or streaming media, you have to decide on an operating system. In 2020 there are more options than ever before, including the familiar Windows and Mac environments.
"Don't forget Linux."
But two of the more interesting and popular options are Unraid and FreeNAS. They're both enterprise-class, software-defined, storage solutions. Unraid is a paid solution (but does have a 30 day free trial) whereas FreeNAS is free to use. Both are well-supported and have helpful online communities. Either would be a good fit for me but I opted to try FreeNAS out this time.
Update: FreeNAS is now TrueNAS CORE. Read more about it here.
Full disclosure, I went down a pretty deep rabbit hole and I'm still not convinced I reached the bottom. To begin with, the 2008 Mac Pro is definitely not on the official list of supported hardware for FreeNAS. That was my first red flag.
Trying to install from a flash drive got me as far as the initial splash screen but no further. Considering Macs are EFI and don't have a BIOS, there was very little I could do to troubleshoot. I spent several hours researching without any luck before deciding to try and install ESXi (a bare-metal hypervisor). This would, in theory, install directly onto the physical hardware with direct control of underlying resources, bypassing any issues with EFI.
"If something sounds too good to be true..."
Of course, none of the recent versions would run on my 2008 hardware, but I was able to find the last version that had supported my old system; 5.1.0 (sadly no longer officially maintained by VMware).
I encountered problems once again trying to install from a flash drive but did find mention of someone else who'd succeeded using a disc. Skeptical, but without any better options, I tried burning the iso to a DVD. Miraculously, it worked and ESXi 5.1.0 was successfully running on the 2008 Mac Pro.

After that, I had better luck. I was able to create a virtual machine using ESXi and install FreeNAS on it. Two small notes:
-
Still no luck installing from a flash drive. Needed another DVD disc.
-
Even then, I was stuck using an older version (FreeNAS-11.3-U2.1).

We got there in the end, but I had to use so many workarounds that my setup (dependent on a variety of old unsupported software) didn't feel reliable enough to trust all my media to. It's a shame but my dream FreeNAS server will have to be put on hold until I have more modern hardware to hand.
For now, seeing as my server is a Mac Pro, I've opted to keep things simple and run MacOS. I was hoping that would make things more straightforward, but nothing's ever straightforward when you're committed to using old hardware.
The latest version of MacOS that officially runs on the 2008 Mac Pro is 10.11.6 (El Capitan, released in September, 2015). Thankfully there's the MacOS Catalina Patcher by dosDude1 which (at the time of writing) allows you to install the latest version of MacOS.
Update: Apple has since released Big Sur. Read more about it here.
Once MacOS was installed, I encountered no further problems. It was simply a matter of installing the software I wanted to run on the server and setting up the services we'd be using; Time Machine for backups, Plex for our media, and the Java Minecraft server. Migrating the terabytes of media was the most time-consuming task, even with the upgraded I/O.
I'm running the server headless now (with no display attached) so I don't even need to leave my desk to check in on it. I just remote in to the server from whichever machine I'm currently sitting in front of and have full access.

It's so convenient, being able to schedule backups and spin up anything from a Minecraft server to a Discord chat bot on the fly. Knowing it's all running on my own hardware gives me peace of mind. It also gives me an opportunity to learn more about network security (while everything is still quite low-stakes).
My primary goals for this machine were to serve media, transcode Plex streams, and backup the myriad devices at home. So how exactly does it manage?
Conclusion
One of the benefits of running MacOS is the built-in backup utility, Time Machine. Knowing that our laptops are frequently being backed up to the home server is a great comfort. If anything were to happen to them now, we could literally restore all our files and software onto replacement hardware in no time.
Backups are one thing, but what about something a bit more exciting?
"The dual Xeons and GTX 670 make for a very smooth Minecraft server."
We've only had about four simultaneous connections so far, but the experience has been flawless for all involved. Having it running 24/7 keeps things interesting too. Friends occasionally logging in and playing while I'm not around means I never quite know what to expect when I check back in.

So far, so good.
By far the most expensive part of this build was the storage. The primary reason for this entire project was hosting my media. I've been building a collection of films, TV boxsets, and albums for years. Since before Netflix and Spotify even existed. As of the time of writing, it's sitting at about 22TB and still growing.
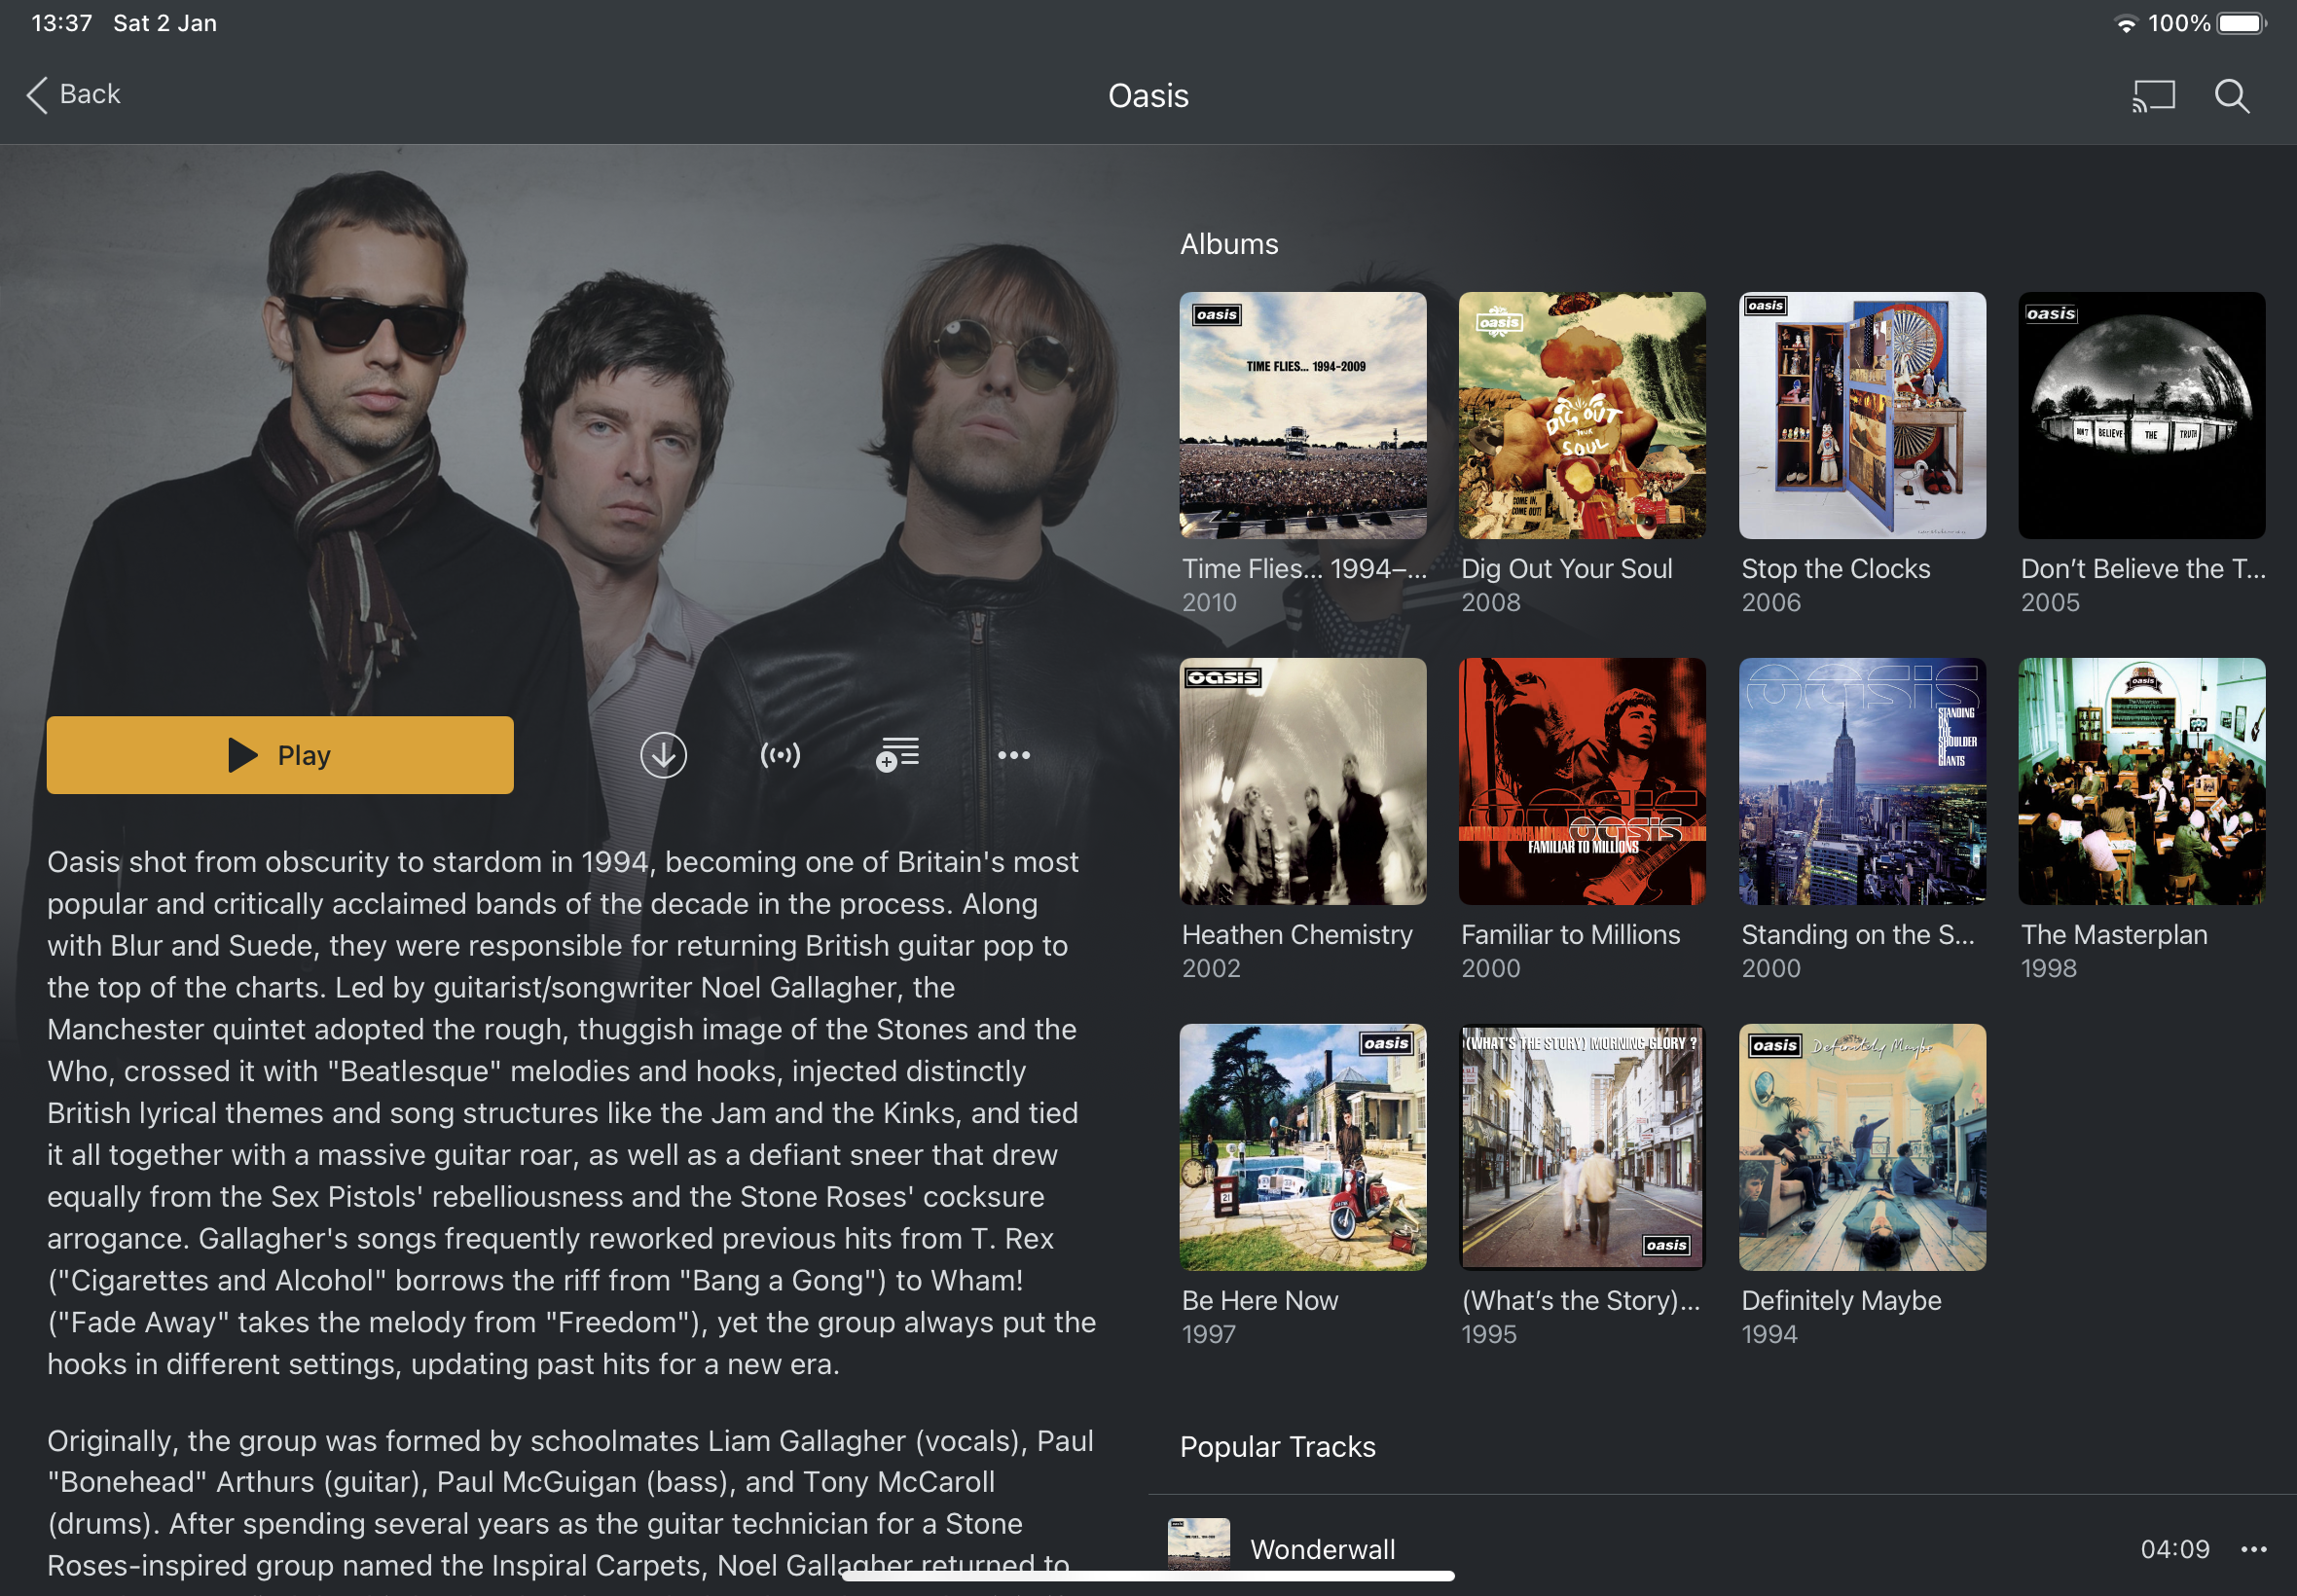
It's only in recent years that I've discovered PLEX and have started using it exclusively to help me curate my collection. Running PLEX on the home server allows us to access our media from anywhere and does an excellent job of organising it all for easy browsing.
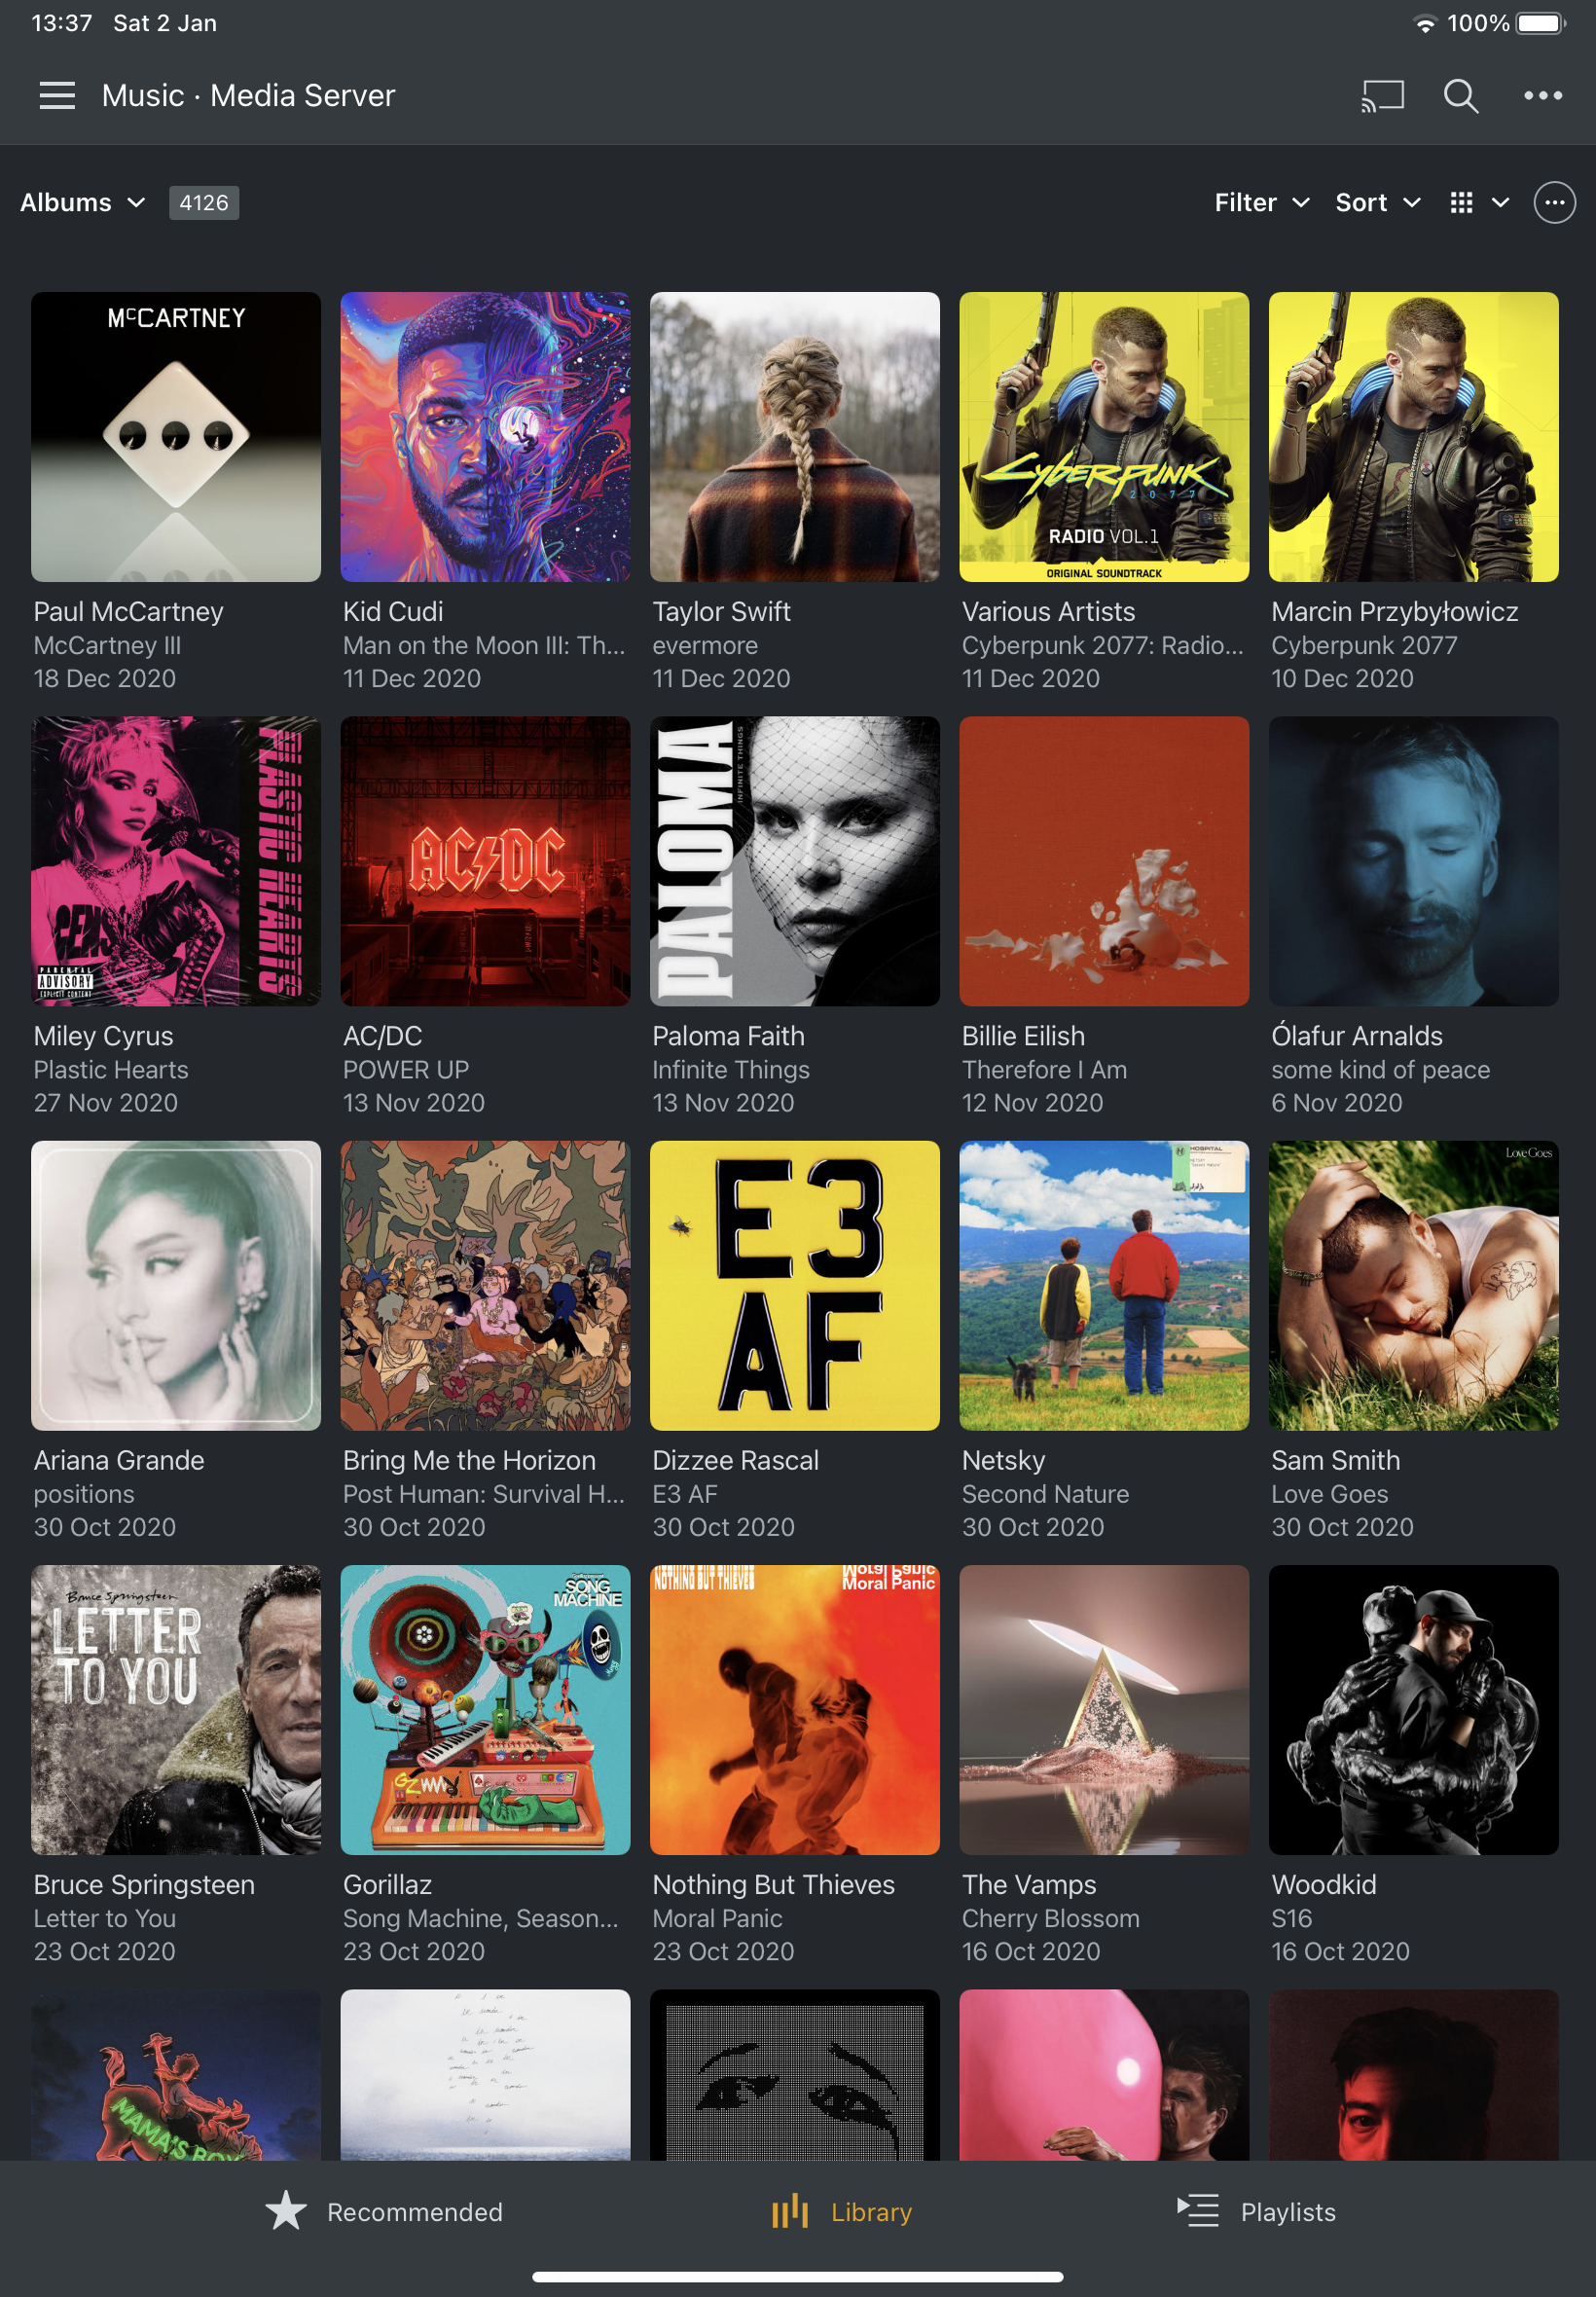
I particularly like the interfaces on both the Apple TV and iPad apps. With music specifically, this provides everything from an artist's most popular tracks to suggesting 'Similar Artists' from elsewhere in my collection (functionality I really loved when I used Spotify).
For the time being, there's nothing more I could ask of a home server, but I'm sure I'll work towards a proper FreeNAS installation in the future. I suspect this twelve-year-old hardware isn't getting any younger, and I'd like to rest easy knowing my data is stored on a redundant array before disaster strikes.
Would I recommend it?
As ever... it depends. Not including the price of the GPU this project still cost over £1,000 (most of which was the large capacity hard drives). If you don't have a large media library though, the price is much closer to £300.
I firmly believe these older Mac Pro towers are a bargain in 2020. The build quality is leagues ahead of machines on the market today, and you'd be hard pressed finding server-quality components at these prices in many other places. If you're willing to make small hardware upgrades or are happy finding workarounds for unsupported software, you'll be rewarded for your efforts.
The Current Specs
So, until I can expand on the amount of storage once again, this is where the home server currently stands;
- 2 x 2.8 GHz Quad-Core Intel Xeon
- 32 GB 800 MHz DDR2 FB-DIMM
- Palit Nvidia GTX 670 2048 MB
- 500GB SSD (via PCIE mount)
- 28TB RAID 0 Array